To customize the poll style for the widget display use Customization.
Using this tab you can customize the following settings:
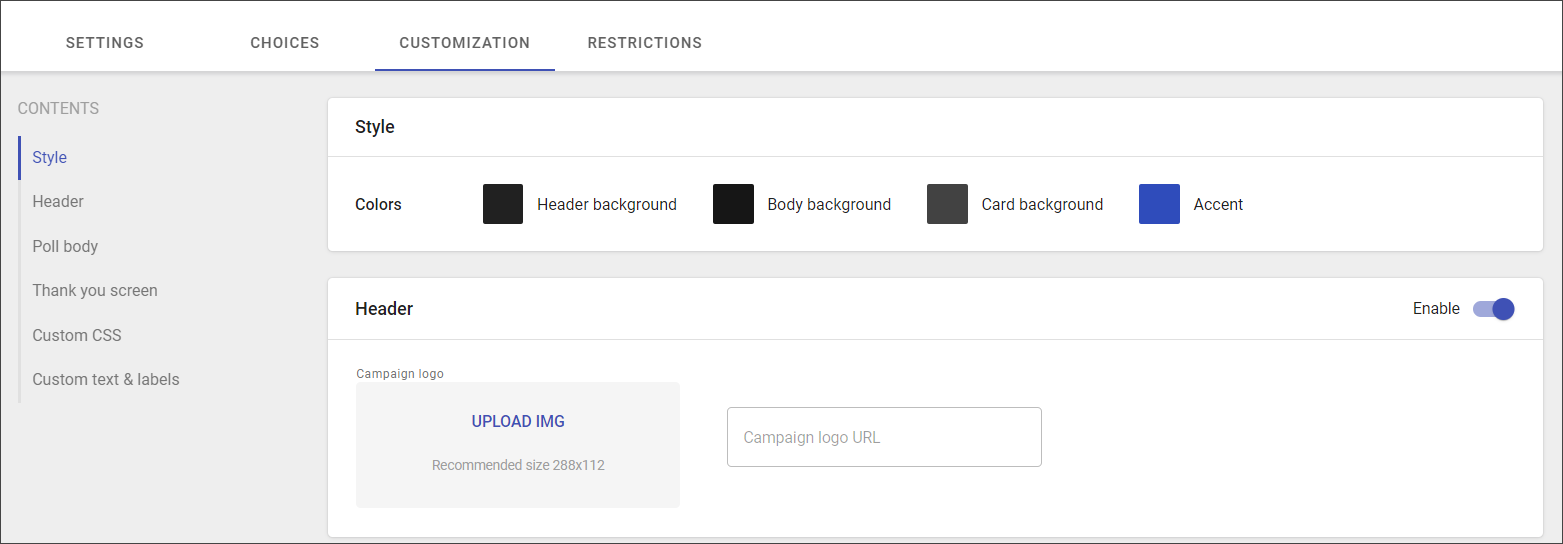
Style
The poll style is customized via setting up the custom colors for Header background, Body background, Card background, and Accent.
To set up color:
- Select the needed option.
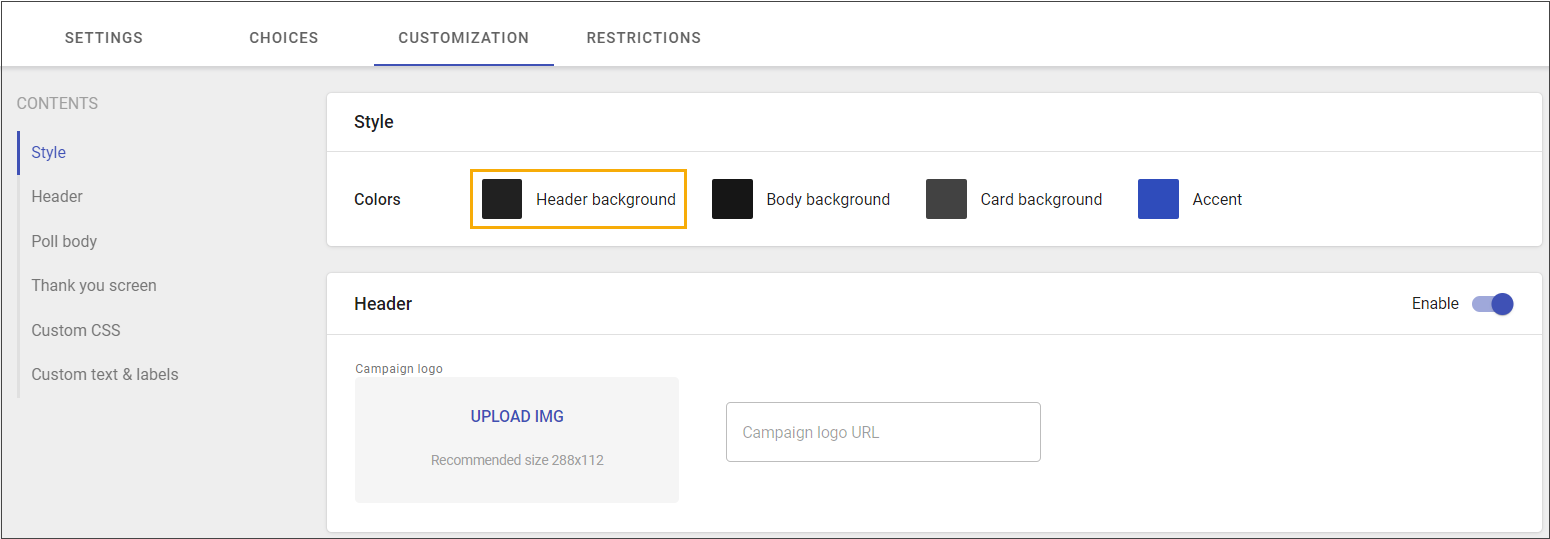
2. Choose the color from the specter or add RGB or HEX color code.

3. Set up transparency, if necessary.
4. Click Apply.
5. Save changes.
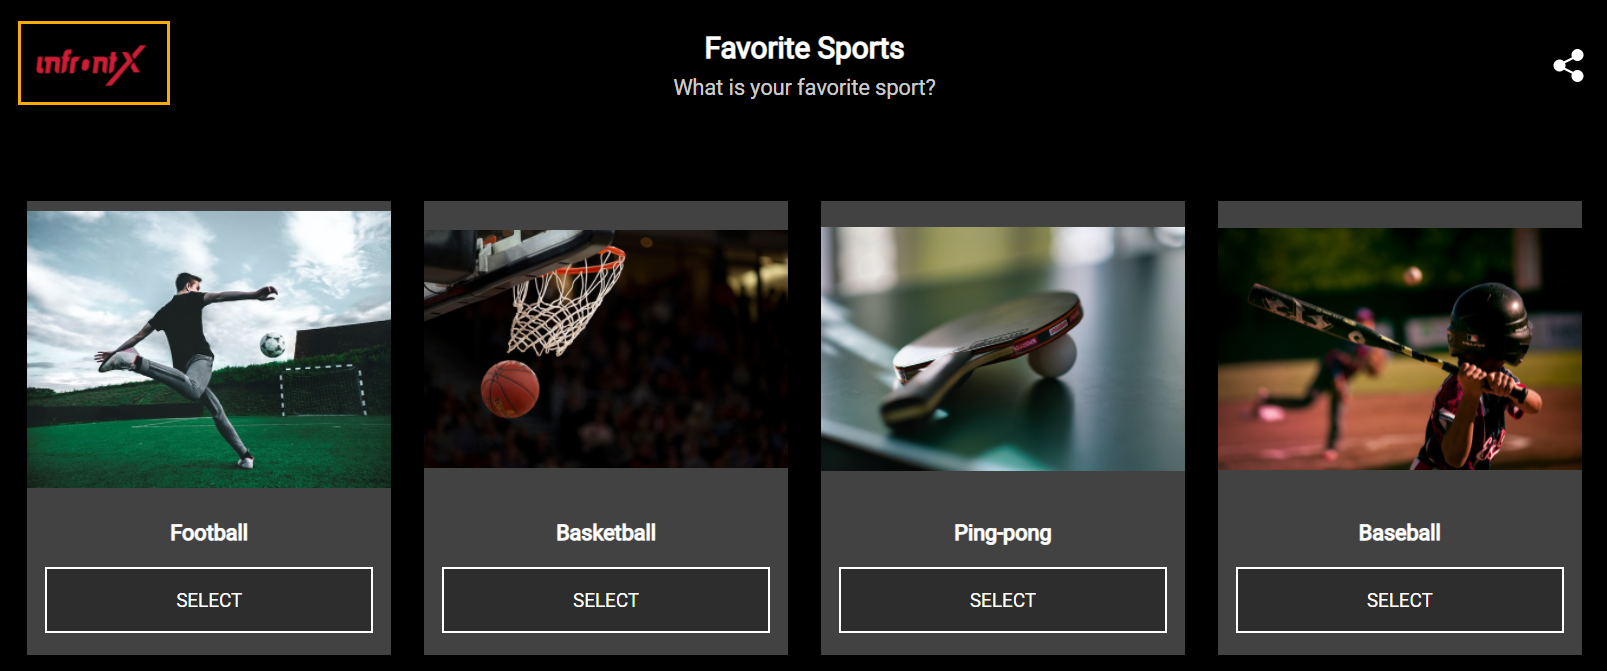
Header
The header contains a campaign logo that can be uploaded from internal storage or added via URL.

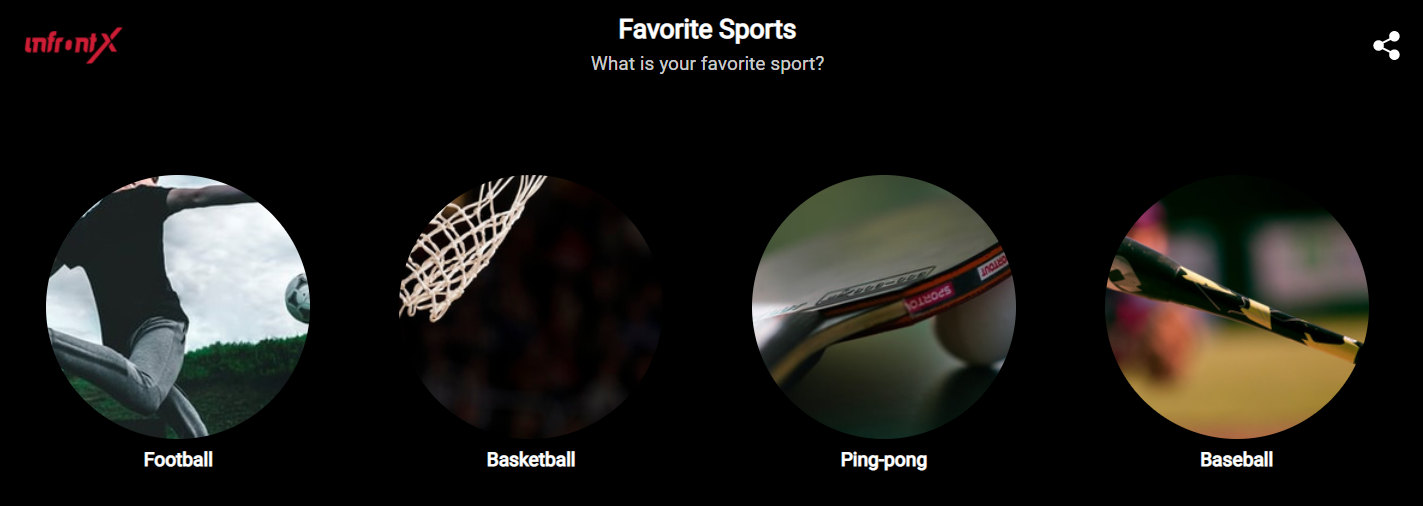
The campaign logo at the end-user widget
Poll body
Poll body customization contains:
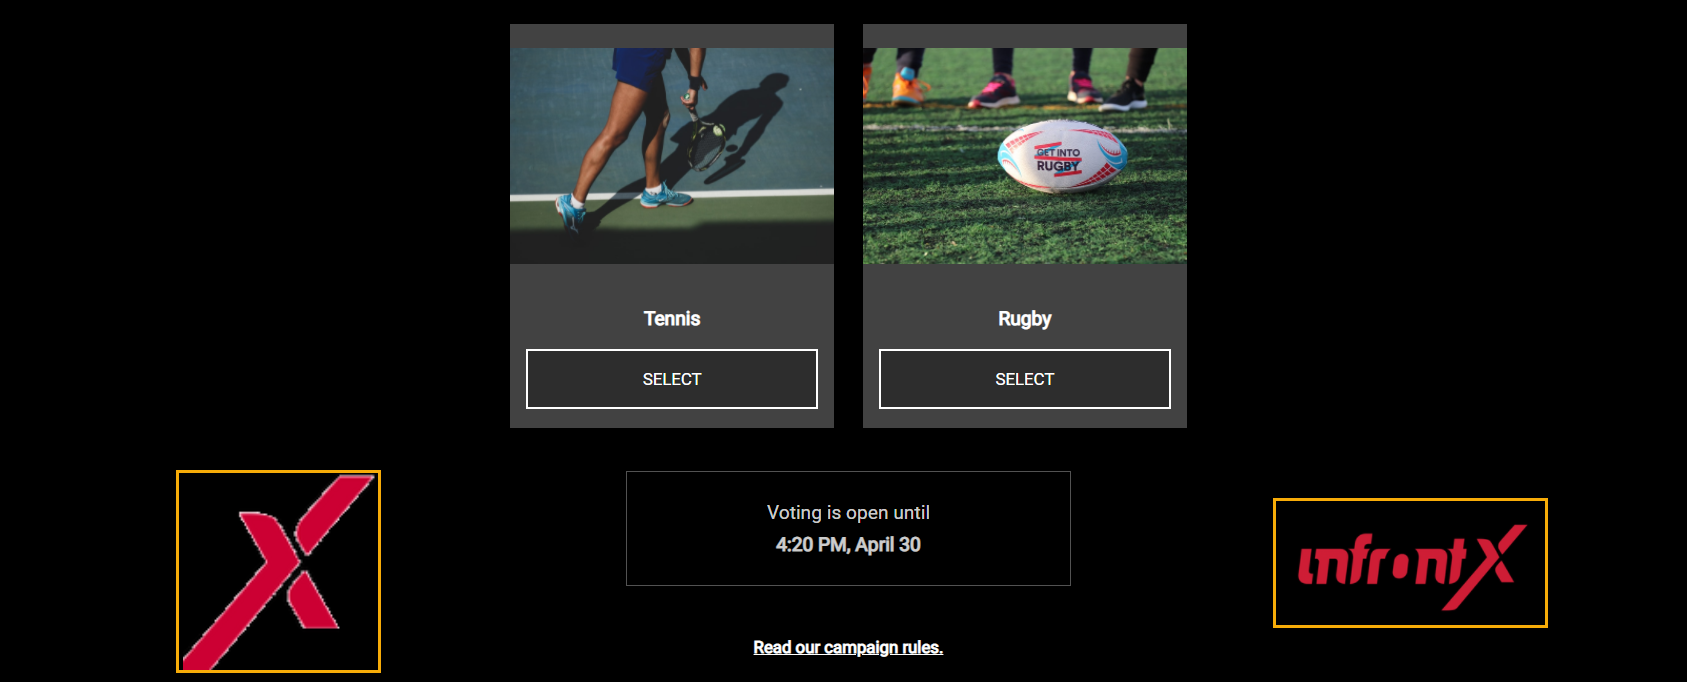
- Layout - the position of the choices on the widget.
- Carousel view
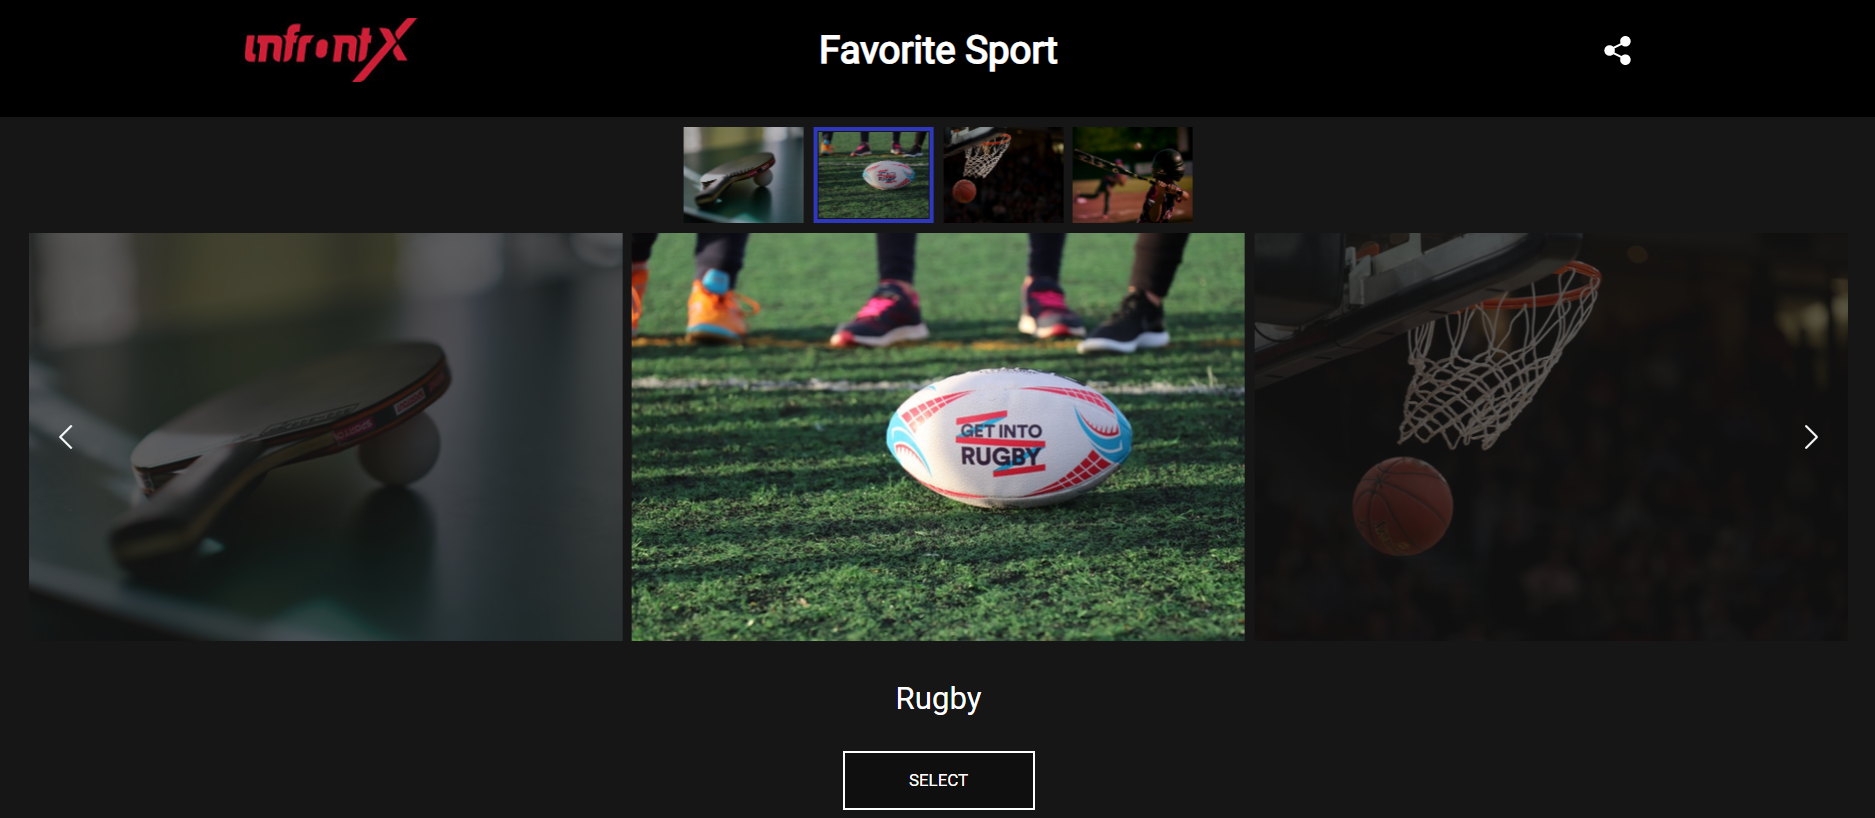
-
- Grid view.

-
- Image frame - the image borders could be rectangular or circular.
- Results view - the identifier of the vote results display: percentage, total, or both.
- Adding custom background images for different backgrounds:
- Desktop (recommended size: 1920x1080)
- Laptop (recommended size: 768x1024)
- Mobile (recommended size: 340x480)
- Adding promo images and their URLs. Recommended size: 280x280.
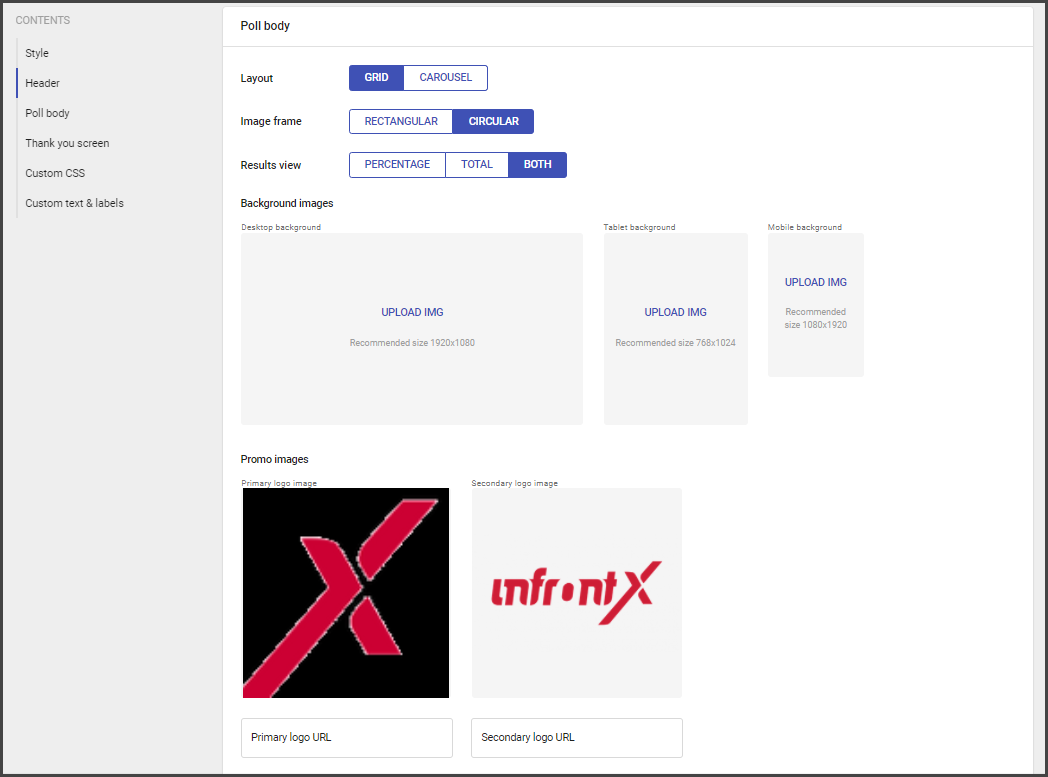
Promo images are located at the bottom part of the widget.
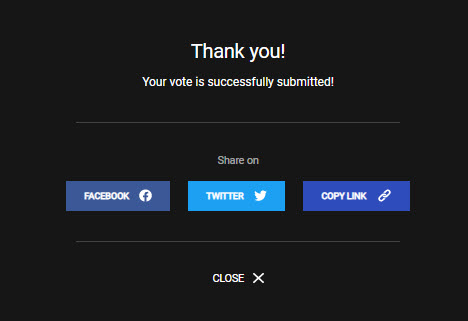
Thank you screen
Thank you screen is used after answers submitted successfully.
It contains:
- Image (recommended size: 280x280) and its URL.
- Title (default value is: Thank you).
- Description Message (default value is: Your vote is successfully submitted).
- Promo logo URL address.
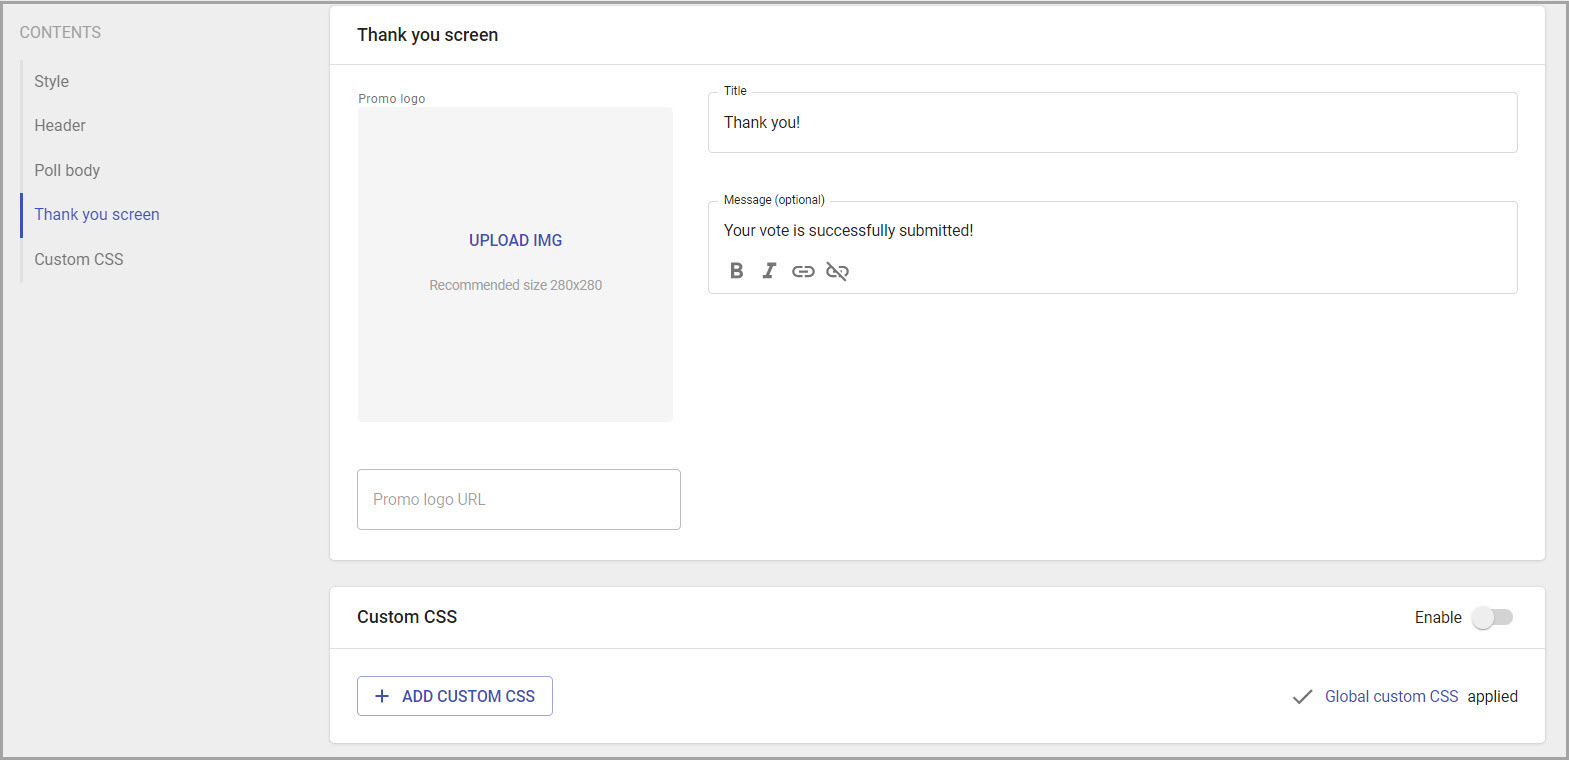
Thank you screen displays in the following way:
Custom CSS, Text, and Labels
Custom CSS - the customization section for adding the custom CSS.
Custom text and labels - the customization section for adding custom text and labels settings.
Custom CSS
Custom CSS is optional and provides the flexibility of very granular customization by redefining the widget CSS.
To add custom CSS do the following:
- Go to the Custom CSS section.
- Click on Add Custom CSS button.
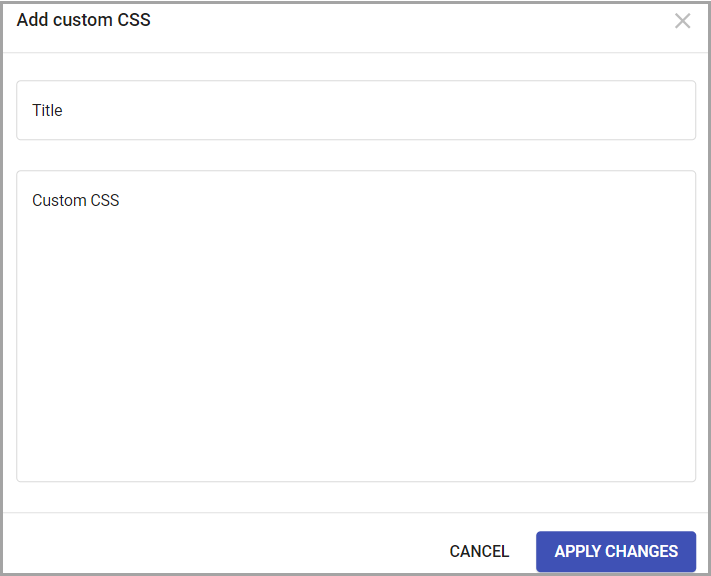
- Add title.
- Copy the CSS parameters and paste them to the Custom CSS section.
- Save changes.
Custom Text & Labels
Currently, custom text and labels settings help to add a more specific style setup to the widget. To add it to your widget, contact Support.

The JSON code with custom text and labels will be added to your campaign and you will be able to edit it.
To edit the custom text and labels:
- Go to Custom text & labels.
- Choose added custom text & labels.
- Edit the needed code section.
- Apply changes.